Arduino Home Automation (Bluetooth)
Now I don't know about you, but to me it seems an awful lot of effort to get up and flick a switch on an appliance. Let's say a lamp. Wouldn't it be marvellous, I ask myself, if I could just use my phone......YES IT WOULD.
So in this I will attempt to show how to connect an Arduino to your android phone via Bluetooth and then use application to control high voltage devices using relays.
Electricity is dangerous so please be careful!!!!
Step 1: Things You Will Need!
So in this I will attempt to show how to connect an Arduino to your android phone via Bluetooth and then use application to control high voltage devices using relays.
Electricity is dangerous so please be careful!!!!
Step 1: Things You Will Need!


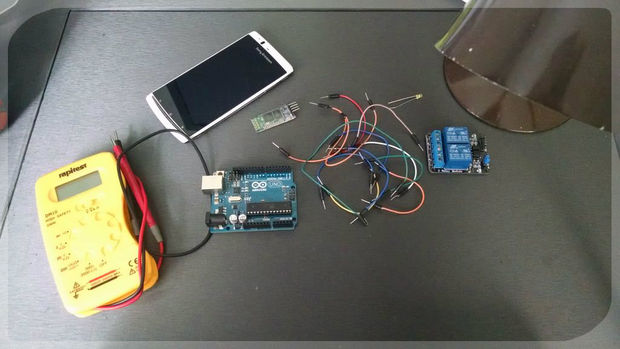
Here are some other things you will need:
Step 2: Relay Test:
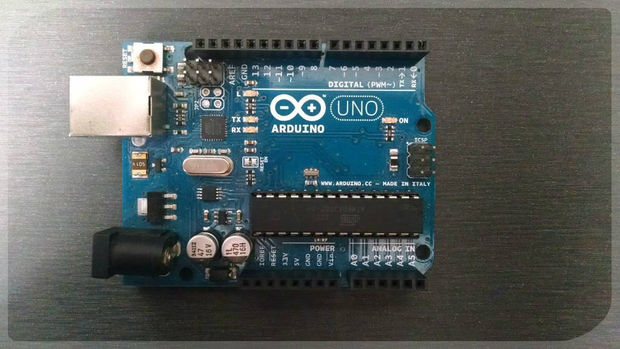
- Arduino Uno (doesn't have to be the Uno)http://www.amazon.co.uk/Arduino-A000066-Uno-R3-Mic...
- Bluetooth Module
- Relay Module
- Wires
- LED's
- A Lamp
- Android Phone with Bluetooth
- Electrical Tape
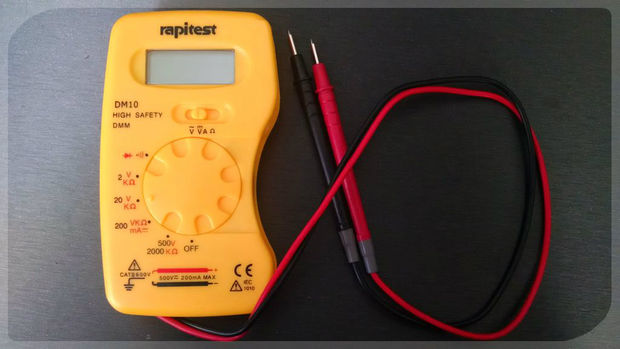
- Wire Strippers (or knife...)
Step 2: Relay Test:
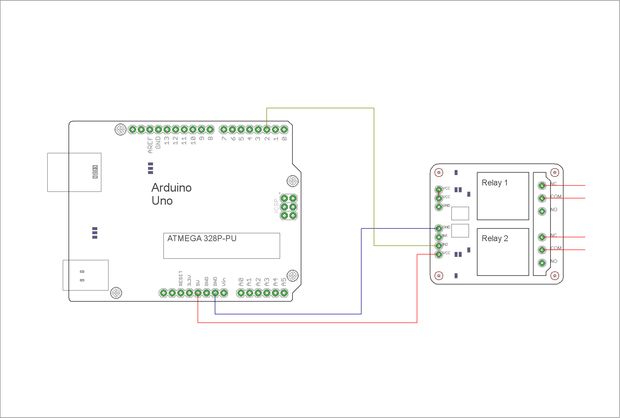
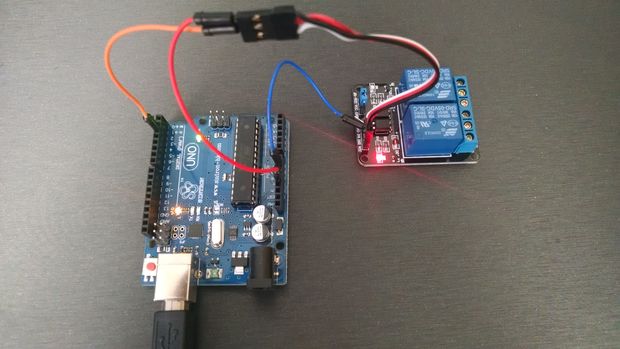
Wire up the relay as shown in the diagram, make sure that the JD-VCC and VCC pins are bridged if you are powering the relay from your arduino. If they are not bridged you will see the LED turning on and off every 2 seconds but there will not be the clicking sound of the relay switching.
Code:
#define relay 2 /attaches the relay to pin 2
void setup()
{
pinMode(relay, OUTPUT); //sets the relay as an output
}
void loop()
{
digitalWrite(relay, HIGH); //relay open
delay(2000); //wait 2 seconds
digitalWrite(relay, LOW); //relay closed
delay(2000); //wait 2 seconds
}
Download this program(ino file)
| relay_test.ino |
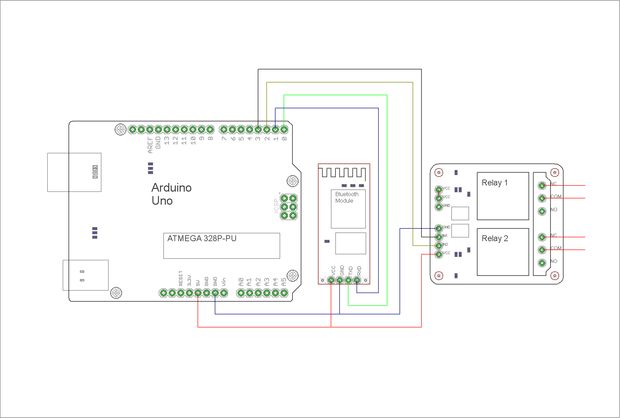
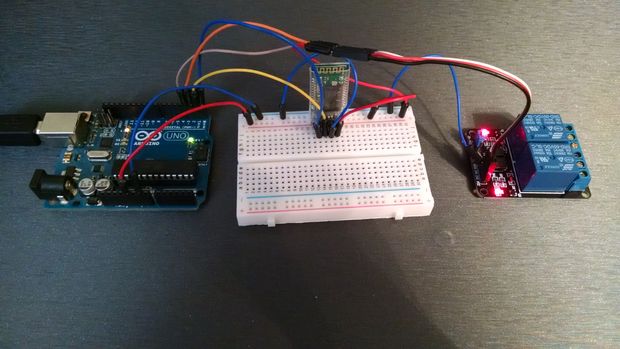
Step 3:Connecting the circuits:
Full code:
/*Title:bluetooth home automation
Author:Aravind
23/01/2017
Status:working
*/
int led5 = 8 ;
int led1 = 9 ;
int led2 = 10 ;
int led3 = 11 ;
int led4 = 12 ;
void setup ()
{
pinMode(led1, OUTPUT);
pinMode(led2, OUTPUT);
pinMode(led3, OUTPUT);
pinMode(led4, OUTPUT);
pinMode(led5, OUTPUT);
// Set pin 13 as digital out
// Start up serial connection
Serial.begin( 9600 ); // baud rate
Serial.flush();
}
void loop ()
{
String input = "" ;
// Read any serial input
while (Serial.available() > 0 )
{
input += ( char ) Serial.read();
// Read in one char at a time
delay( 5 );
// Delay for 5 ms so the next char has time to be received
}
if (input == "11" )
{
digitalWrite(led1, HIGH); // on
}
else if (input == "10" )
{
digitalWrite(led1, LOW); // off
Serial.println("1 is low");
}
if (input == "21" )
{
digitalWrite(led2, HIGH); // on
Serial.println("2 is high");
}
else if (input == "20" )
{
digitalWrite(led2, LOW); // off
Serial.println("2 is low");
}
if (input == "31" )
{
digitalWrite(led3, HIGH); // on
Serial.println("3 is high");
}
else if (input == "30" )
{
digitalWrite(led3, LOW); // off
Serial.println("3 is low");
}
if (input == "41" )
{
digitalWrite(led4, HIGH); // on
Serial.println("4 is high");
}
else if (input == "40" )
{
digitalWrite(led4, LOW); // off
Serial.println("4 is low");
if (input == "51" )
{
digitalWrite(led5, HIGH); // on
Serial.println("5 is high");
}
else if (input == "50" )
{
digitalWrite(led5, LOW); // off
Serial.println("5 is low");
}
} }
Download this program(ino file)
| bluetooth_home_automation.ino |
Step 4:Connecting appliances:
Now connect your appliances to the relay
Now connect your appliances to the relay
Step 5:Downloading the Bluetooth App:
Now download the app from HERE.Install this app on your device
Now download the app from HERE.Install this app on your device